
Autor
Anhui Heshun Import and Export Co., Ltd. es un fabricante especializado en toldos, velas de sombra, mallas de sombra, persianas para estacionamientos, persianas, cercas para balcones, pantallas de privacidad y otros productos de protección para exteriores. Gracias a nuestro excelente equipo técnico y a nuestra maquinaria avanzada (30 juegos de máquinas de tejer y 5 juegos de máquinas de extrusión), nuestra empresa produce productos de calidad superior. Nuestra capacidad de producción diaria es de 8 toneladas métricas de HDPE importado 100 % puro. Nuestros productos se han exportado a Estados Unidos, Europa, Oriente Medio, Australia, Japón y África. Nos encontramos en la provincia de Anhui, cerca del puerto de Shanghái y de Nanjing.
Sara M.
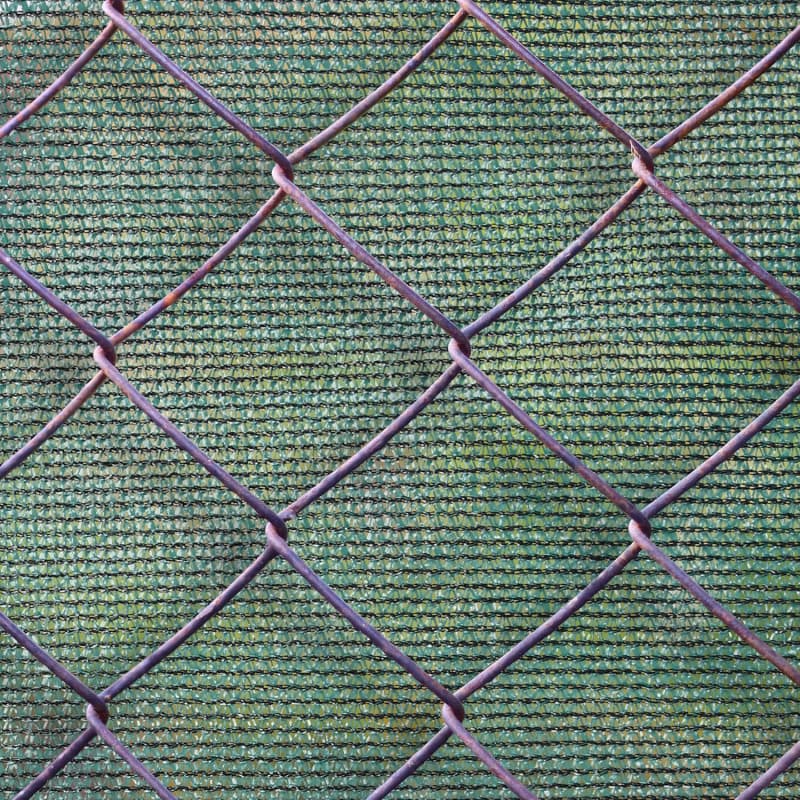
A chain-link fence is practical and affordable, but its open weave offers little privacy. If you want to turn your backyard, garden or patio into a secluded relaxing space without replacing the whole fence, an HDPE privacy mesh screen is the ideal solution. Lightweight, breathable and UV-resistant, this fence screen is simple to mount. Below is our complete installation guide to help you get a neat, long-lasting finish.
What You Will Need
- HDPE privacy fence screen (with pre-punched reinforced holes)
- Scissors or utility knife (if trimming is needed)
- Your preferred fasteners for securing the mesh
Tip: Check your fence frame condition before you start. Repair any bent or loose fence rails first to create a stable mounting base.
Step 1: Take Accurate Measurements
Measure the height and length of the chain-link section you plan to cover. Double-check twice:
- Measure the vertical height from top rail to bottom rail
- Measure the horizontal length along the fence line
When selecting your screen size, we recommend leaving a small margin rather than cutting it too short. You can trim extra material later. Avoid buying a screen that is exactly tight to the inch; outdoor materials expand and contract with temperature changes.
Step 2: Prepare the Privacy Screen
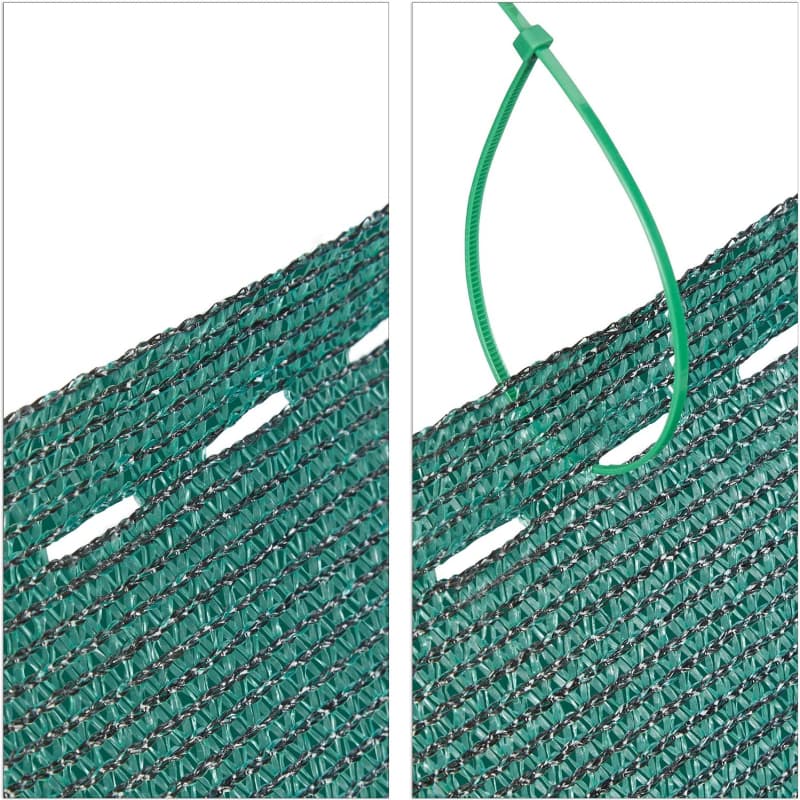
Unroll and lay out the mesh on a flat, clean grass or patio surface to remove wrinkles. Align the reinforced edge with pre-punched holes along the top fence rail. The reinforced border is designed to bear tension, so always use this edge for mounting instead of the cut raw edge. If your screen needs to be shortened to fit your fence dimension, use a sharp utility knife to trim the mesh. After cutting, handle the cut edge carefully to reduce loose threads.
Step 3: Align and Attach the Top Edge
Have a helper hold the screen up against the chain-link fence for easier alignment. Line up the first row of mounting holes with the top rail of the fence. Fasten the screen at the starting corner first. Work slowly from one side to the other, adding fasteners through the pre-punched holes at regular intervals. Pull the mesh gently to keep it flat, but do not over-stretch it.
Step 4: Secure the Sides and Bottom
Once the top edge is fixed, move to the vertical side edges and the bottom rail. Keep consistent tension across the whole surface. Too much tension may tear the mesh on hot days; too loose will make it flap heavily in wind. Space your fasteners evenly for balanced support. This prevents sagging and keeps the screen looking tidy all year round.
Step 5: Final Adjustments & Check
Walk along the fence and inspect the whole installation:
- Confirm the mesh lies flat without big wrinkles
- Check all connection points are firmly fixed
- Make sure there is no excessive pulling on any single hole
- Trim away any excess mesh that drags on the ground (ground contact speeds up dirt buildup and wear)
Pro Tips for Longer Service Life
- Leave slack for wind and temperature change Unlike solid tarps, this HDPE mesh is breathable. A small amount of slack helps it absorb wind force and reduces tearing risk.
- Avoid sharp edges Watch for sharp metal burrs on the chain-link fence. File rough spots before installation to prevent the mesh from being snagged and ripped.
- Regular quick check Once or twice a year, glance over the attachment points. Re-secure any loose spots after storms.
- Clean easily You can rinse the mesh with low-pressure water to wash away dust and leaf debris. No complicated maintenance required.
Closing
Installing privacy screen on a chain-link fence is a beginner-friendly outdoor project. It brings instant privacy and soft shade while preserving airflow. With proper measurement, gentle tension and even fastening, your HDPE privacy mesh will stay in good shape through sun, rain and wind for seasons to come. It is a simple, low-cost upgrade that completely changes how you enjoy your outdoor space.


 English
 español


 Red IPv6 compatible